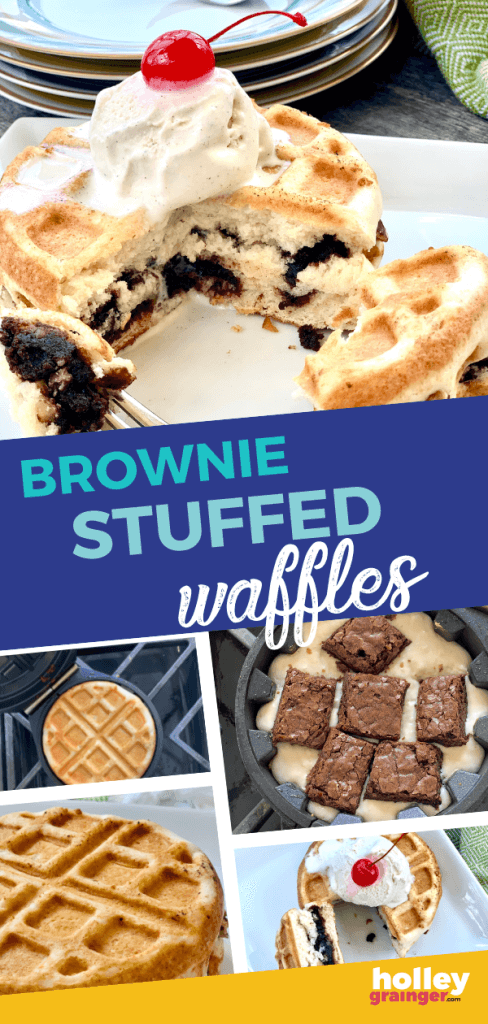
Brownie Stuffed Waffle a la Mode
By
Holley Grainger |
Published:
Feb 18, 2023 | Latest updated:
Feb 20, 2023
Give dessert an upgrade by stuffing a gooey chocolate brownie inside a Belgium-style waffle using the hottest kitchen gadget around – The Stuffed Waffle IronTM by Wonderffle®.

Thank you Wonderffle for sponsoring this post! All opinions are my own.
Close your eyes and think about a crispy on the outside/crispy on the inside golden Belgium-style waffle. Next, picture a warm chocolate brownie. Now, image if that fudgy brownie was stuffed inside your waffle. Yes, you heard that right – INSIDE! It is now possible to stuff all your favorite fillings inside your waffle with The Stuffed Waffle IronTM by Wonderffle®.

The Stuffed Waffle IronTM by Wonderffle®
From breakfast to brunch and from dinner to dessert, you can create sweet or savory recipes using the Wonderffle waffle iron. The 3-piece system connects to create a 5-inch round and 2-inch thick Belgian-style waffle stuffed with all the foods you love inside. And, because this stuffed waffle maker is cordless, you can use it on any cooking service such as a gas or electric cooktop, grill, oven, or induction cooktop. Plus, the small size allows it to be portable – how fun would this be on a camping trip! – and is a cinch to store.
Waffles have never been known for their portability because no one wants to deal with falling toppings. Thanks to the Wonderflle Stuffed Waffle Iron, you can fully enclose your favorite toppings inside the Belgium-style waffle making them a stress-free, portable, mess-free meal on the go.

Love Brownies? Try these S’mores Brownie Bites!
How to Make a Brownie Stuffed Waffle a la Mode
Preheat the assembled and closed Wonderffle Stuffed Waffle Maker on the stovetop or other cooking surface on low for about 10 minutes per side.
Pro Tip: For a faster option, preheat each pan separately with the center pan resting on the bottom pan for a total time of 10 minutes.
While the unit heats, combine pancake mix, milk and vanilla extract in a bowl and stir gently until combine.
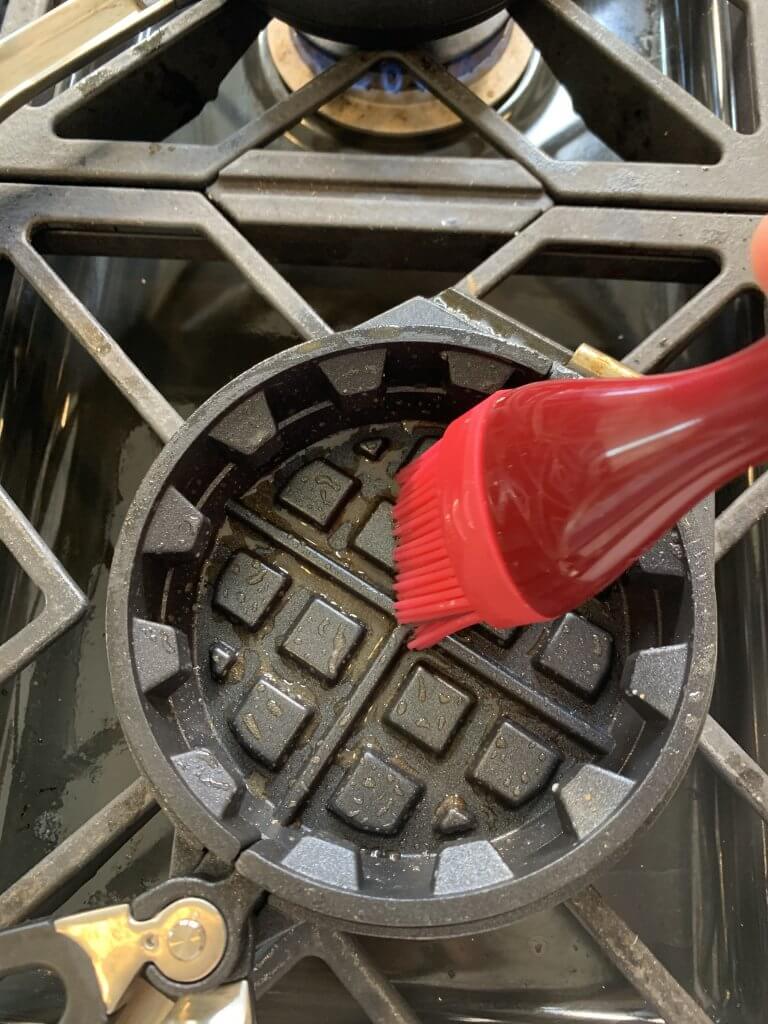
Once the unit is ready (water flicked on the waffle grids will immediately sizzle and evaporate), brush the top and bottom grids with melted butter. (I like using a silicone baking brush for this step.) Pour enough batter into the bottom pan to completely cover the waffle grids (about ½ cup).

Add waffle filling – brownie, nuts, chocolate chips, chocolate syrup drizzle – whatever you like! Keep the filling within the center of the waffle maker and avoid touching the waffle grids along the center pan.

Cover the brownie with enough additional batter to fill up the top rim of the center pan. Close the unit, flip to the opposite side, and cook on medium low for 6 minutes per side.

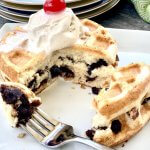
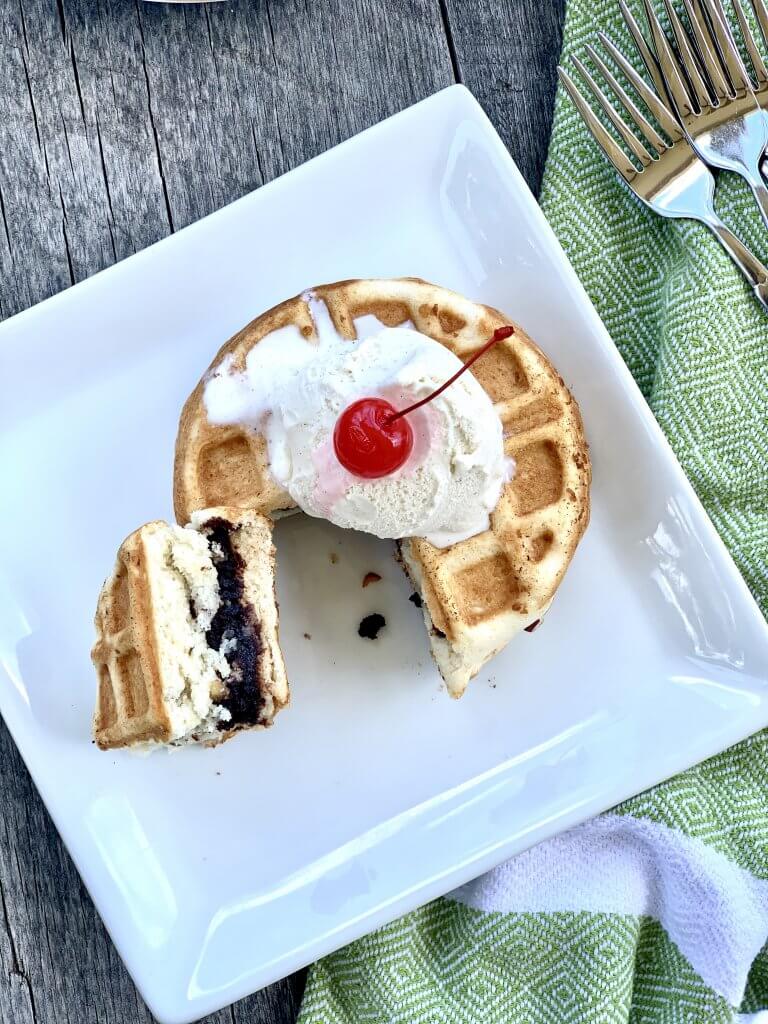
Once the waffle is golden brown and cooked through, remove the stuffed waffle using the center pan finger loops to lift it from the bottom pan. Release the stuffed waffle from the center pan by separating the center loops (in a similar motion to opening and closing scissors). Top with ice cream or whipped cream, if desired, and serve immediately.

Clever Tips When Preparing Stuffed Waffles
- Low and slow is the name of the game. In order to cook the stuffed waffle through without burning the outside, use a lower temperature and cook for a longer period of time. (I like to use a medium low setting on my gas range and cook for about 5 to 7 minutes on each side.)
- When using a filling with a runny texture such as fruit pie filling (check out Apple Pie Stuffed Waffle), chocolate hazelnut spread, jam, or peanut butter (don’t miss this Peanut Butter and Jelly Stuffed Waffle), consider using no more than ¾ cup so that the filling does not spill out while the stuffed waffle cooks.
- Also, when using a filling with a runny texture, consider cooking the batter on the bottom slightly (until small bubble form) before adding the filling. This will prevent the filling from mixing into the batter.
- Including some type of fat in the batter (such as milk, oil, or butter) yields a more golden color on the outside.
- Do not add raw ingredients (like eggs, bacon, or sausage) onto the batter when cooking. Be sure that any filling ingredients are fully cooked. (Talk about a WOW recipe – Spinach, Tomato and Cheese Omelet Stuffed Waffle)
Pin this Recipe:
Stuffed Waffle FAQ
Can Stuffed Waffles Be Made in the Oven?
Yes! No cooktop, no problem. Heat the Wonderffle unit in the oven at 350F for 15 minutes (instead of preheating on the cooktop). Remove the unit, grease, and fill per the recipe instructions. Return to the oven and cook at 500F for about 10 minutes. Remove from the oven and release from the center pan. (PS – The handle will be warm because it is in the oven so be sure to use oven mitts.)

Can You Make Stuffed Waffles Ahead?
Keep cook stuffed waffles warm and crispy by placing them in a 250F oven until you are ready to serve. Place a cooking rack on a baking sheet then place the cooked stuffed waffle on the baking rack. This keeps the stuffed waffle from getting soggy.
Can You Freeze Stuffed Waffles?
Meal prep friends rejoice! You CAN make stuffed waffles ahead and store in the freezer. Simply place cooked stuffed waffles on a baking rack and cool to room temperature. Once cool, wrap individually in wax paper and store in a zip top plastic freezer bag. When ready to serve, simply remove from the freezer and cook at 350F for about 15 minutes or until warmed throughout.
Where Can You Purchase a Wonderffle Stuffed Waffle Maker?
You can purchase a Wonderflle Stuffed Waffle Maker on Amazon or directly from their website.

(This post may include affiliate links.)
Print
Brownie Stuffed Waffle a la Mode
- Author: Holley Grainger
- Prep Time: 10 min
- Cook Time: 12 min
- Total Time: 22 minutes
- Yield: 1 waffle 1x
- Category: Dessert
- Method: Waffle Maker
Description
Give dessert an upgrade by stuffing a gooey chocolate brownie inside a Belgium-style waffle using the hottest kitchen gadget around – The Stuffed Waffle IronTM by Wonderffle®.
Ingredients
1 cup dry “Just Add Water” pancake mix
2/3 cup 1% milk*
1 Tbsp pure vanilla extract
1 Tbsp butter, melted
½ – ¾ cup prepared brownie pieces
2 Tbsp chopped pecans (optional)
Vanilla ice cream
Instructions
- Preheat the assembled and closed Wonderffle Stuffed Waffle Maker on the stovetop or other cooking surface on low for about 10 minutes per side. (For a faster option, preheat each pan separately with the center pan resting on the bottom pan for a total time of 10 minutes.)
- While the unit heats, combine pancake mix, milk and vanilla extract in a bowl and stir gently until combine.
- Once the unit is ready (water flicked on the waffle grids will immediately sizzle and evaporate), brush the top and bottom grids with melted butter. (I like using a silicone baking brush.) Pour enough batter into the bottom pan to completely cover the waffle grids (about ½ cup).
- Add brownie pieces and, if desired, chopped pecans onto the batter. Keep the filling within the center of the waffle maker and avoid touching the waffle grids along the center pan.
- Cover the brownie with enough additional batter to fill up the top rim of the center pan. Close the unit, flip to the opposite side, and cook on medium low for 6 minutes per side. (Note that the cooking time may vary based on the cooking surface and ingredients used.)
- Once the waffle is golden brown and cooked through, remove the stuffed waffle using the center pan finger loops to lift it from the bottom pan. Release the stuffed waffle from the center pan by separating the center loops (in a similar motion to opening and closing scissors). Top with ice cream or whipped cream, if desired, and serve immediately.
*Substitute milk in place of water in the recipe to achieve a golden crust and richer flavor. I tested with the ratio of 1 cup dry mix to 2/3 cup milk. However, feel free to defer to the package directions for the appropriate mix to liquid ratio.
**Package directions: according to package directions.
More Dessert Recipes:
S’mores Brownie Bites

Vanilla Ice Cream in a Bag

Chocolate Chip Cookies in a Mug